Ben delivers a video walkthrough of building the MeArm robotic arm for Arduino, RaspberryPi and microbit. See every step of the assembly up close. If you’ve never tackled this build before, this walkthrough will be invaluable.

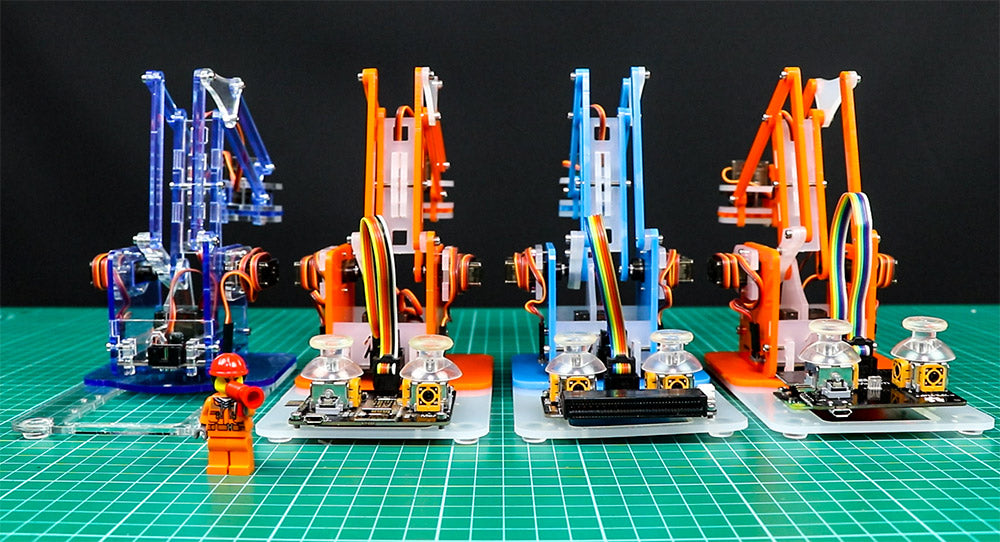
The MeArm is a flatpack robot arm that you can build with nothing but a screwdriver and enthusiasm. Here we demonstrate building the Arduino compatible version, but the physical build is the same for the RaspberryPi and microbit version.
Building the MeArm Robotic Arm for Arduino, Pi & microbit:
The MeArm Robot Arm has been designed from the ground up to be easy to assemble. Children can build it themselves and we suspect adults may be able to build it unaided too. The only tool you’ll need to build it is a hex key, and one is included in the box! You’ll notice that Ben occasionally cheats with power tools, but this was just to make the video a little shorter.
Video Walkthrough:

Finally, if you are unsure which MeArm version is the right fit, you can check out the entire range here.