This is a short guide to help you get started with ZIP Halo for the BBC microbit. The techniques we cover will help to form the basis of your own coding adventures as you put ZIP Halo to work in your projects.  This basic guide will show you how to light up individual LEDs, before moving onto how you might animate the display. See above.
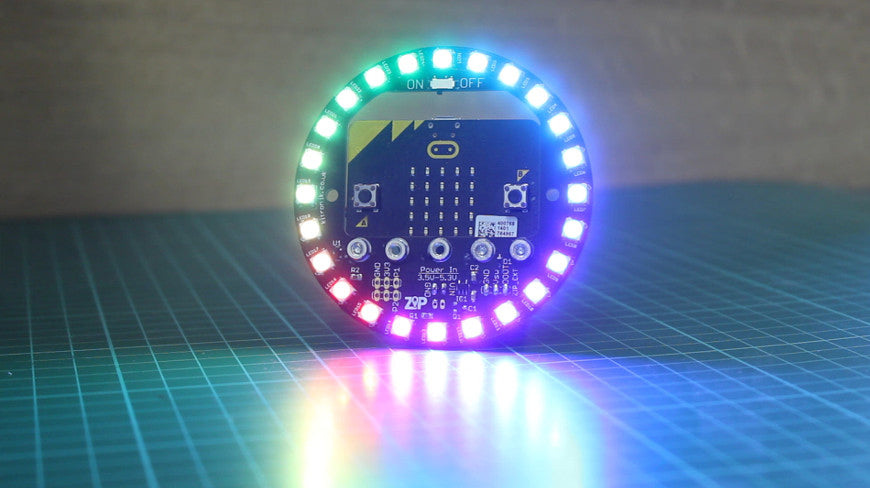
Get Started With ZIP Halo For The BBC microbit:
We Used:
- BBC microbit.
- ZIP Halo board.
- Power source for ZIP Halo.
- A USB Connection to a computer with internet access.
- The Microsoft MakeCode Editor.
Before we Start:
 Head over to the MakeCode Editor. First, we will need to add the NeoPixel blocks to the MakeCode Editor. In the top right of the editor, you will see a cog symbol. Click this and then select ‘Extensions’ from the menu list. A dialogue box will open (see above), click on the NeoPixels tile to add it to the blocks menu. Thus, we are now ready to write some code!
Let’s Write Some Code:
In order to better understand how to address an individual ZIP LED, we will first write code that will light up a single LED. The code below shows how you might do this.
The above code has two sections; the on start loop and the forever loop. In the on start loop we have a variable called ‘ZIP_LED’ that contains the information that describes our ZIP LED set up. Which pin on the microbit is being used (P0), how many individual LEDs the Halo has (24) and the LED format (RGB GRB format)). The forever loop contains the instructions needed to light up an LED of our choosing and give it a defined colour. The first line adds further information to the ‘ZIP_LED’ variable. So that when we include the ZIP_LED show block, the correct LED is lit with the correct colour. We didn’t need to put our code into a forever loop, it could have just as easily sat in the on start loop. As we are going to use the forever loop in the second code example, it makes it easier to follow the theme if we don’t change it up too much.
What Will Happen:
As soon as we add power to ZIP Halo, LED 12 (6 O’clock) will light up red. Because we put the instructions in a forever loop, the light will stay on for as long as the microbit has power.
Animating The ZIP Halo:
Now we are going to demonstrate how we can light up a single LED and make it travel around the ZIP Halo. The embedded editor below shows how we chose to code this.
The code we used in the first example is still being used in this program. We are still using the on start and forever loop. We are still using the ‘ZIP_LED’ variable that contains the information about the ZIP LED configuration of the ZIP Halo. Also, we are still lighting up one red LED. In order to facilitate the movement, we have made use of a second variable called ‘item’. In the on start block, we set ‘item’ starting value to zero. As the LED at 12 O’clock on the ZIP Halo is called 0 (zero). So, instead of putting in a numerical value in the first block in the forever loop we use the variable ‘item’. This determines which LED should be lit up. We then use an If Then Else loop to increase the value of ‘item’ by 1. Which in turn changes the LED that is lit up. The clear block turns off the current LED as the count cycles to ensure that only one LED is lit up at a time. Once the value of ‘item’ reaches 24, we then reset the value of ‘item’ to 24. Then the process starts again.
What Will Happen:
When the Halo and microbit are powered on, the ‘0’ LED will light up red and then the red LED will move around and around Halo’s LEDs. This will continue until it is disconnected from the power source. You might be wondering why you might want to learn how to code something like this and if it is of more use than as a decoration. Learning how to do something basic like this opens up a lot of doors. Lighting up specific LEDs allows you to create things like an animated compass or warning light.
Grab The Code:
Once you’ve downloaded and unzipped the file you can either put it straight onto a microbit or drag and drop it into the MakeCode editor. To put it onto your microbit, connect your microbit to your computer via USB. Once connected the microbit will show up as a removable drive. HEX files can then be dropped directly onto this removable micro:bit drive. The light on the back of the microbit will begin to flash. Once this stops then the file has finished transferring and the program will begin to run.