Controlling 3 Servos With The Servo:Lite board
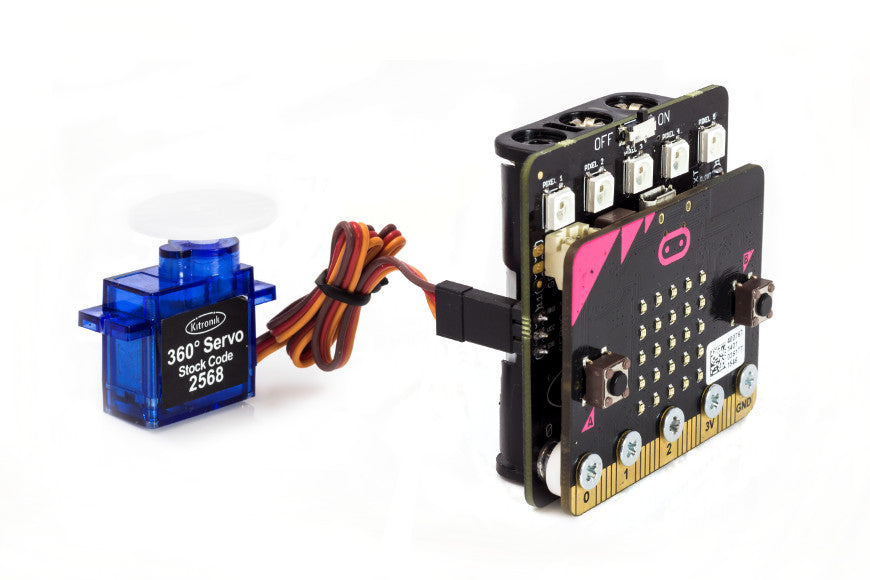
By default the Servo:Lite board for the :MOVE mini buggy kit is capable of driving its 5 ZIP LEDs in conjunction with two servos. In this resource for the Servo:Lite board we are going to cover how you can ‘hack’ the board to facilitate the driving of three servos. servo_lite_with_servo It’s important to note that we included this as a feature and as such we ensured that not only is the ‘hack’ very easy to do, it is also easy to reverse. Also, the ‘hack’ disables the onboard ZIP LEDs, reversing the ‘hack’ re-enables the ZIP LEDs again. Both the ZIP LEDs and the servos are controlled from outputs on the microbit. The Servo:Lite board only breaks out P0, P1 and P2 to drive things. So, if we want three servos we need to disable the ZIP LEDs. Presentation1 As you can see in the above image, the ‘hack’ is a simple three step process;

1. Create a soldered joint across the two pads on the front of the board. 2. Break the track between the two pads on the rear of the board. 3. Add 3 x 0.1” header pins to the board for the extra servo to connect to. The top pad will then link to the signal pin, the middle to the positive and bottom to the ground of the servo. 

To return a ‘hacked’ board back to its original state just reverse the process;
    • Remove the soldered joint on the front of the board.
    • Create a soldered joint across the two pads on the rear of the board.
 

Servo:Lite And microbit Pin Assignments:

The table below highlights the pin assignments that you will need to be aware of when writing your code.
microbit. Servo:Lite.
Pin 0. ZIP LEDS or Servo 3.
Pin 1. Servo 1.
Pin 2. Servo 2.

16 comments

Cullen Lewis

Cullen Lewis

Thanks for the feedback, we’ve passed it on internally to see about adding some more detail to cover this.

John Bibby

John Bibby

Hi Mark,
In response to Jeff's comment.
What the instructions don't say (and should) is that servo 3 should be plugged in upside down !

Mark Donnison

Mark Donnison

Hi Nicholas, we don't publish schematics for the boards at the moment, sorry. Maybe that will change at some point in the future.

Nicholas Barker

Nicholas Barker

Hi, I'm enjoying the micro:bit with your servo:lite board. Love the screw-connections, soldering is no longer an obstacle. Do you publish a schematic of your board (Stock code 5623 ver 1.1) for we old-timers? Thanks!

Mark Donnison

Mark Donnison

Hi Phil, we stock some very inexpensive pin headers that are perfect for the job in hand: https://www.kitronik.co.uk/4133-straight-single-row-pcb-pin-headers-254mm-36-way.html

phil sutcliffe

phil sutcliffe

Where do you get the header pins from?

Mark Donnison

Mark Donnison

Hi Jeff, I'm not sure why it isn't working for you other than the possibility of one of the tracks that need to be cut is still connected. If you drop support an email with a picture of your soldered joints and the cut tracks one of our team will help you get to the bottom of the issue. support@kitronik.co.uk

Jeff

Jeff

How can this hack be debugged? I've followed the instructions with the soldering and track breaking. The neon lights no loner work, but there is no response from the P0 server. I've re-soldered the joint and pin heads a number of times. Where does one go from here?

Mark Donnison

Mark Donnison

Hi Robert, the board itself can only handle three servos, two for the wheels and one for an add-on. We do have an interface board add-on but that is specifically for adding sensors to :MOVE mini. Please note that if you have some crazy hacks in mind, and who doesn't!, there is the potential to damage the boards. But for now at least, it's either trailer or bulldozer, not both. Sorry!

Robert Yusko

Robert Yusko

Is there any type of modification to allow both the trailer dumper and the bulldozer to work on one Move:Mini?

Mark Donnison

Mark Donnison

Hi, we have an interface board for adding a sensor: https://www.kitronik.co.uk/5628-move-sensor-interface-board-for-the-bbc-microbit.html With regards to the LED coming on, if it is connected to the microbit properly and there are no shorts the LEDs should not come on unless you write code to make that happen. If this continues to be a problem, please contact support@kitronik.co.uk who will be able to help you troubleshoot the issue.

Ms.Kim

Ms.Kim

Hi! I have a question about the Servo:Lite board. Is it possible to connect with other sensor besides servo motor? And how do I turn on the Zip LED? Sometimes when I attach it to the micro-bit, the light goes on. I want to know why.

Mark Donnison

Mark Donnison

Hi Dan, The track is under the black silkscreen (top layer) on the PCB. If you tip it under a light you should just be able to see it. Give it a good scratch (gouge) to separate the two pads, we typically use a screwdriver or craft knife for this.

Dan

Dan

Hi When it says “Break the track” between the two pads, what is it actually referring to? The black separating line between the pads? Thanks Dan

Mark Donnison

Mark Donnison

Hi, Pin0.

Habong Lee

Habong Lee

Hi What is the PIN number for Servo 3?

Leave a comment

All comments are moderated before being published