
The inspiration for this blog post came from a tweet:

Rachel makes amazing stained glass art (check out her website).
She wanted to mount a piece with a powerful paragraph under it, but without detracting from the glasswork.
Having suggested 'Kiss cutting' the letters and being met with a 'what is that?' response, I thought maybe it would be good blog subject.
A laser cuts or engraves by localised vaporisation of the surface. This literally blows away some material.
If you are cutting then you get left with a hole all the way through the material, and if you are engraving you are left with just a shallow crater.
Most laser cutters have options to cut or engrave in their software.

Laser Engraving is generally a raster operation - where a picture is broken into a pattern of parallel lines and the laser is scanned over it turning on and off - much like an old CRT display.
You can get some excellent effects with raster engraving - check out Emma's blog on scan gap engraving
'Kiss cutting' is a different laser technique that lightly engraves a surface, but the laser doesn't follow a raster pattern, it follows a cut line. 'Kiss cutting' is especially useful for engraving lettering.
A lot of fonts will not successfully raster engrave - the software requires an engraved area to be 'closed', which only works if a font has 'thickness'. Where a font will engrave, the nature of raster engraving means the lettering often looks 'pixelated'.
'Kiss cutting' more closely mimics handwriting, where letters are formed from individual strokes. For script type fonts it works really well.
Here's a quick 'how to' on creating your own 'Kiss cut' lettering:
We often use LibreCAD to make our laser cutter files. Its a free 2D CAD package. This blog will assume you are using it, but other 2D packages have similar functionality.
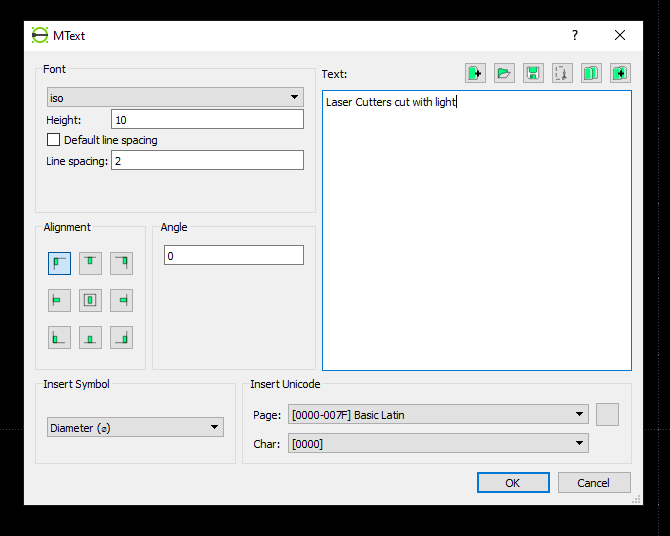
To demonstrate I will use the short phrase:
"Laser Cutters cut with light"
First insert the text into LibreCAD using the text tool:
This creates a single text object. To convert this into a path for the laser to follow, select it and use the explode function.

Using Explode converts the letters from objects into single lines. If you use Explode Text into Letters then it creates lots of objects as though you had individually created each letter with the Text tool. This means that the letters are still not lines, which is what we want for kiss cutting.
Once you have exploded your text if you want to rearrange the letters - for instance Rachel wanted swoopy lines to fit with her artwork:

You can use the normal move, copy, rotate tools to do this.
I usually create a set of guides on another layer to help line everything up. Don't forget to draw the outline of the shape you want to cut:

Save your work and then open the .dxf file in your laser cutter software.
This is where we setup to 'kiss cut'. Our laser cutter cuts through the 5mm value acrylic I used in this blog at a setting of 65% power and 6 speed.

To 'kiss cut' I create another cut setting with drastically reduced power - to 15%, and increased speed. This results in less energy being applied to the acrylic, with the result that only the surface is vaporised.

Kiss cut lettering shows up really nicely when illuminated from the side, such as with our 35150 white or 3561 colour changing LED strips.

Of course kiss cutting doesn't just have to be for letters. Any item where you want to engrave thin lines into the surface could be made using this technique - such as this nifty see thru rule:

Rachels stand came out really nicely, with crisp lettering only 3mm high:

Her ghostly Slender-billed Curlew simply supported as it fades into a memory:

Keep yourself in the loop and sign up for our newsletter here!
©Kitronik Ltd – You may print this page & link to it, but must not copy the page or part thereof without Kitronik's prior written consent.


